“Be happy for this moment. This moment is your life.” – Omar Khayyam
Rye Whiskey Mash Procedure:
1. Place your brew pot on its heat source and pour in 5.5 gallons of water.
2. Heat water to 165 °F.
3. Turn off heat source when you reach 165 °F and immediately stir in 6 pounds of Rye Malt and 3.5 pounds of Flaked Maize.
4. Stir the mixture continuously for 7 minutes.
5. Check temperature and stir mixture for 30 seconds every 5 minutes until the temperature cools to 152 °F.
6. When the mixture has cooled to 152 °F, stir in .5 pounds of Crushed Malted Barley.
7. Check temperature and stir for 30 seconds every 20 minutes until the mixture has cooled to 70 °F. This process takes several hours on its own but can be sped up significantly with the use of an immersion cooler.
8. When the mixture has cooled to 70 °F, add whiskey turbo yeast.
9. Aerate the mixture by dumping it back and forth between two separate containers for 5 minutes.
10. Pour the mixture into your fermentation bucket. We carry complete fermentation kits for these as well as the materials to produce your own. It is important to have the bucket, cap, and air-lock. A spigot also makes for easier pouring.
Fermenting Your Rye Whiskey Mash
Materials
- Iodine (Optional)
- pH Meter (Advanced)
- Siphon
- Cheese Cloth
- Citric Acid
Fermentation
Store your rye whiskey mash to ferment for 1 to 2 weeks. For the best results, use one of the methods outlined below to ensure successful fermentation.
Quick Check: After 1 week of fermentation, take a bit of liquid (no solids) from the top of your rye whiskey mash. Put the liquid on a white plate or lid. Drip several drops of iodine into the liquid.
If the liquid turns blue, this is because the iodine has reacted with starches still in the whiskey mash. This indicates that the mash still needs to be fermented further. Repeat this process every few days until fermentation is complete (no blue liquid).
Note: Discard your test sample. Do not add it back into your whiskey mash!
Straining
Siphon some mash water out of your mixture, taking care to leave behind all solid material and sediments, and into a container to adjust pH. At this step, you should use a cheesecloth to strain your mash water. Leaving solid materials or sediment in your whiskey mash water can cause you a really bad headache.
(Advanced Tip!) Some distillers will add 2tsp of gypsum to their mash water at this point. They then test the pH of their mash water. The ideal pH is 5.8 to 6.0. Use citric acid to adjust the pH down and calcium carbonate to bring it up.
Distilling Your Rye Whiskey
Materials
- Whiskey Moonshine Still
- Fermented and Strained Mash Water
- Cleaning Products
- Column Packing
You’ve made it this far! At this point, you’ve completed the heavy lifting of producing your whiskey mash water for your rye whiskey! Now it’s time to distill and separate all of that alcohol content into a purified form. Just like making mash, distilling is as much an art as it is a science.
The best way to master the art of distilling is to hone your skills with practice. We recommend taking detailed notes throughout this process so you can become better with each run. If you’re in need of any distilling equipment or supplies we’ve got you covered.
The process of distilling the fermented whiskey mash will make for a purer and more concentrated spirit. This step separates out all of the undesirable types alcohols such as acetaldehyde, acetone, and methanol (which can cause blindness if consumed).
Prepping and Cleaning Your Whiskey Still
*DO NOT SKIP THIS STEP!
Keeping up on prep-work for your still is mission critical. Even if you cleaned your whiskey moonshine still after your last run and let it sit for a while, it is still recommended to clean it before transferring your whiskey mash water. This is especially the case on copper stills that are starting to show a salt buildup.
If you want to add packing to your column, this is the time to do it. Pack your column with the amount of copper packing that is appropriate for your setup.
If your still setup has a condenser, hook up your water input and output.
Finally, it’s time to add your mash water to the whiskey still. Again, you can use a cheesecloth or auto-siphon to transfer the mash water into your still without including solid material. It’s very important that you don’t allow any solids or sediment to be included in the still.
Running Your Whiskey Still
Now for the step you’ve prepared for. Distilling rye whiskey is an incredible process. If you’re not familiar with the science, here is a quick break down. Distillation is the process of separating different alcohol chemicals by taking advantage of different evaporation temperatures points between the chemicals.
The distilling process is not creating the alcohol, it is simply separating it from all of the other substances in your whiskey mash water. Therefore distilling it down to a purified spirit. The alcohol was already created during the fermentation step.
Slowly bring your temperature up to 150 °F. Once you reach 150 °F, turn on the condensing water, if your setup has a condenser.
After that, dial up your heat source to high until your still starts producing. Time your drips as they speed up until you reach 3 to 5 drips per second. Once you reach this rate, dial down your heat to maintain this drip rate (usually the “medium” setting).
Collecting Your Rye Whiskey Distillate
Collecting your rye whiskey distillate is the best part of this entire process. This is where the magic happens! A mixture of accurate calculations and good instincts, this step takes an experienced distiller to get this process down perfectly. That being said, don’t let this deter you if you’re new to distilling whiskey. After you run a few batches with your whiskey still, you’ll be able to dial the process in by taking notes and making the necessary adjustments. As the old adage goes, “Practice makes perfect.”
Congratulations, you’re well on your way to making your own rye whiskey! As you’re producing the distillate in this step, be sure to use a glass container. Never use plastic containers for this step because they may lace your product with BPA.
Collecting Foreshots
The first approximate 5% of your production will be the foreshots. These contain the earliest-evaporating alcohols in your mash water and should be thrown out.
Foreshots can contain an alcohol known as ‘methanol’ and should never ever be consumed. Methanol can cause blindness if you drink it. Collect the foreshots in their own container and throw them out.
Collecting Heads
The next approximate 30% of your distillate is known as the heads. The heads also contain some volatile alcohols just like the foreshots. As a result, they should be thrown out as well because they are toxic to ingest. They are less toxic than the foreshots, but the heads can still cause a horrible hangover.
The heads will have a distinct “solvent” smell from alcohols such as acetone. Like the foreshots, collect your heads in their own containers and throw them out.
Collecting Hearts
The next step in collecting your distillate is the hearts. The hearts make up the next approximately 30% of your production and are mostly ethanol. During this step, the distillate should lose its harsh, solvent smell that was present during the heads.
This is the stage where skill and knowledge come into play. Isolating your hearts and maximizing your production is a bit of an art. Using a balance of science and your senses will determine the quality of your whiskey end product.
Collecting Tails
The final stage of collecting your rye whiskey distillate is the tails. The tails will be approximately the last 35% of your production when you reach the end of the ethanol. The tails will taste noticeably different from the hearts.
First, you will notice a steep decline in sweetness. Then you can even begin to see an oily top-layer on the surface of your product. The distillate will begin to feel slippery between your fingers. This is because of the water, carbohydrates, and proteins present. You can either throw out your tails or set them aside for a second distillation.
Aging Your Rye Whiskey
Now at this stage in making your own rye whiskey, you have a choice to make. Whether to age your whiskey or not. If you do decide to simply skip the aging process and bottle up the distillate, you have technically made a moonshine or white whiskey. However, since the goal of this guide is to make a true golden rye/corn whiskey, we’re going to cover a bit on the aging process as well.
The aging process will drastically affect the overall flavor profile of your rye whiskey. By aging your whiskey in a charred oak barrel or using oak chips for a given period of time, it will give the whiskey its golden coloring and it will absorb the oaky flavors. A chemical process called adsorption also takes place during aging. This process is when the molecules that make a young whiskey harsher are drawn out to the barrel’s wall, and result in a smoother overall spirit. Many distillers will use barrels which have been used to age other spirits such as rum or brandy to give their whiskey a distinct flavor profile.
How Long To Age Your Whiskey
The amount of time that you decide to age your whiskey is completely up to you. Generally, a rye whiskey will be aged from 1 to 3 years. In this time the barrel or bottle that you’re aging your whiskey in should be kept in a cool and dry environment.
At Mile Hi, we have a variety of different oak barrels, oak chips, and oak spirals to allow you to capture the exact aged flavor profile for your spirits.
Testing The ABV of Your Rye Whiskey
After the aging process, you should test the ABV (Alcohol By Volume) of your rye whiskey and dilute if necessary. You can use a hydrometer to do this. You can dilute the whiskey with purified water prior to bottling it if the ABV is too high. Rye Whiskey must have a minimum of 40% ABV (80 Proof) to be classified as a rye whiskey.
Conclusion
Great Job! You’ve gotten through this entire guide, which means you’ve just made your own batch of delicious homemade rye whiskey (hypothetically speaking). We hope this walkthrough guide was helpful and you churned out a top-shelf spirit. Now comes the cleanup step. Be sure to wash every piece of equipment down thoroughly to ensure a high-quality product in future runs. Disassemble your still and store it in a cool, dry place.
Now, all that said, I have Bare Knuckle Straight Rye Whiskey in this baby!
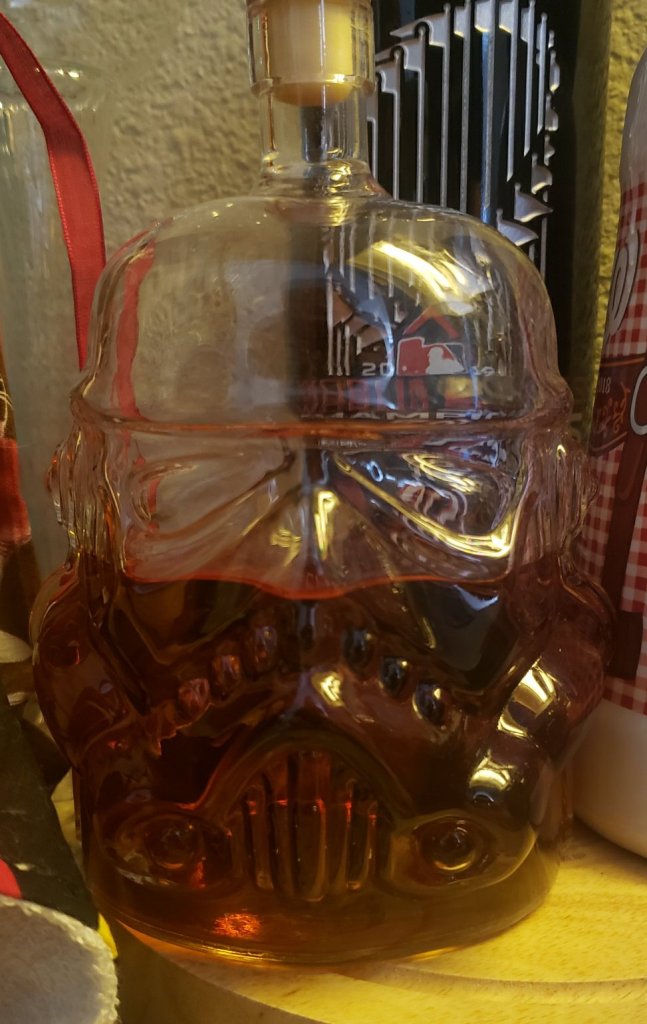
This is 100% rye, sourced from local Virginia farms – meaning Rye from the Manassas and centeral Virginia region. It is double-distilled, then aged in charred new American White Oak barrels from Kentucky.

Until Next Time Readers!
-Jessica (@leaderofnerds)
